

Devices & Provisioning
Wi-Fi Provisioning For Stall Monitors
Estimated time to complete: 20 minutes
Your Stall Monitor connects to the Horcery app to provide real-time insights on your horse’s behavior, movement, and environment. Follow these steps to add and provision your device securely.
Step 1: Before You Begin
Before you start, confirm that:
- You have an active Wi-Fi network.
- You have a Wi-Fi enabled Stall Monitor.
- Your Stall Monitor is within Wi-Fi range.
- Your mobile phone has an internet connection.
- Your router supports at least 2.4 GHz (dual-band recommended) for better range and stability.
Step 2: Start The Provisioning Process
Open up the camera app on your phone and point it at the QR code on the back of the Stall Monitor or on your welcome card until it’s recognized. Alternatively, you can gently tap your phone against the Horcery logo on the Stall Monitor.
If you are using the QR Code
Make sure you can access the QR code on the device (located on the back) or on your Stall Monitor welcome card.
Each QR code is unique so make sure you scan the one that belongs to the specific device you’re installing.
If you are using NFC
Make sure your phone supports NFC and that it’s enabled before you try this.
Step 3: Log into your Horcery account
Enter your credentials to log into your Horcery account. If you do not have an account yet, you can create one at this stage.


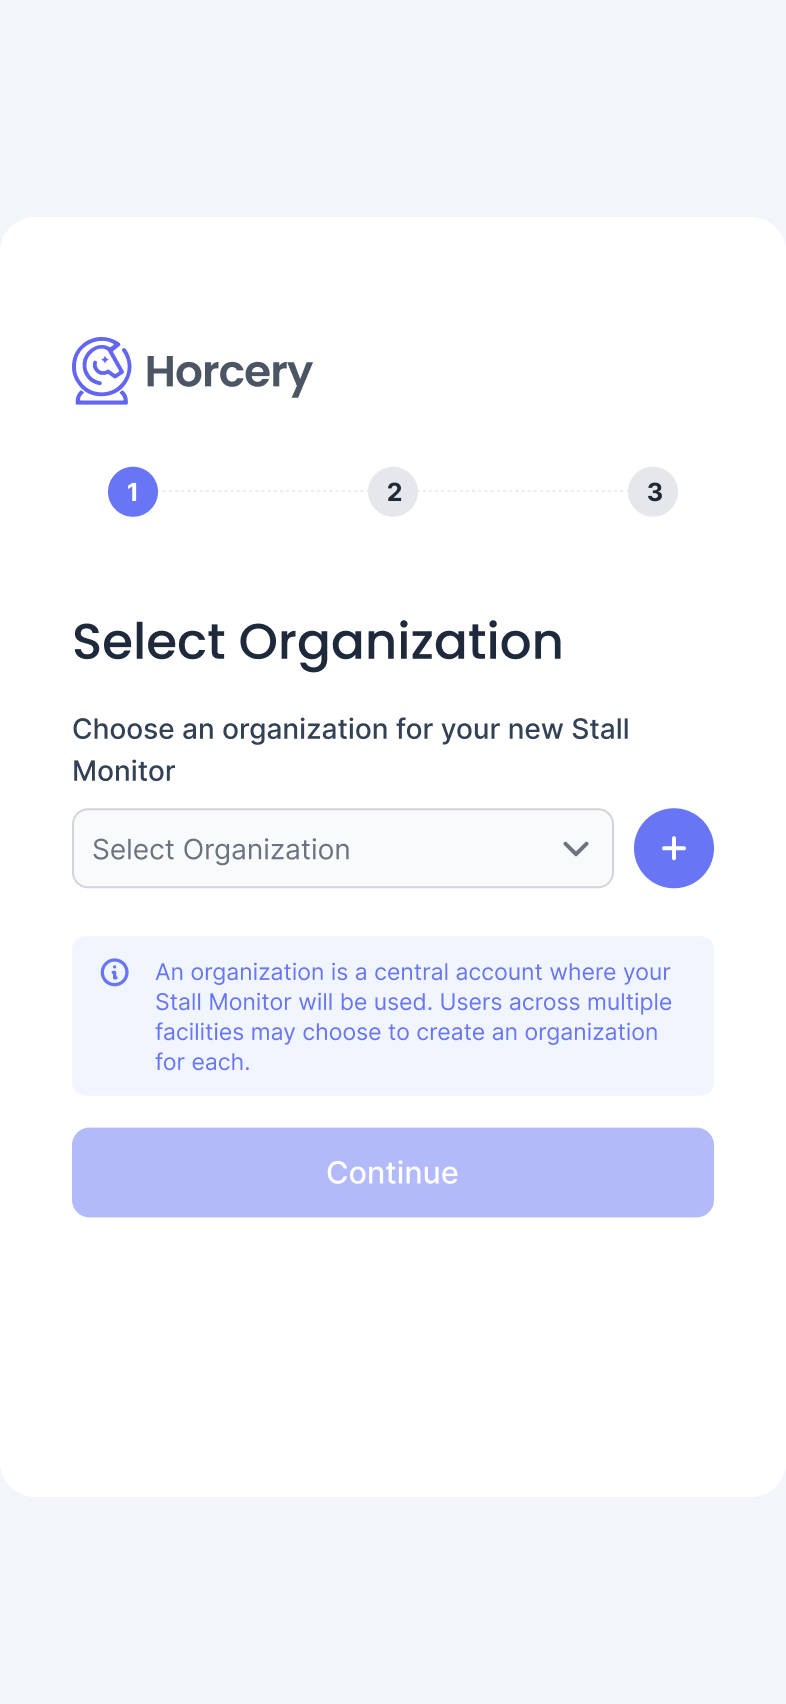
Step 4: Select your organization
After logging in successfully, you’ll be prompted to select an organization from the dropdown to add your new device. If you don’t have one yet, tap the ‘+’ button to create a new organization.
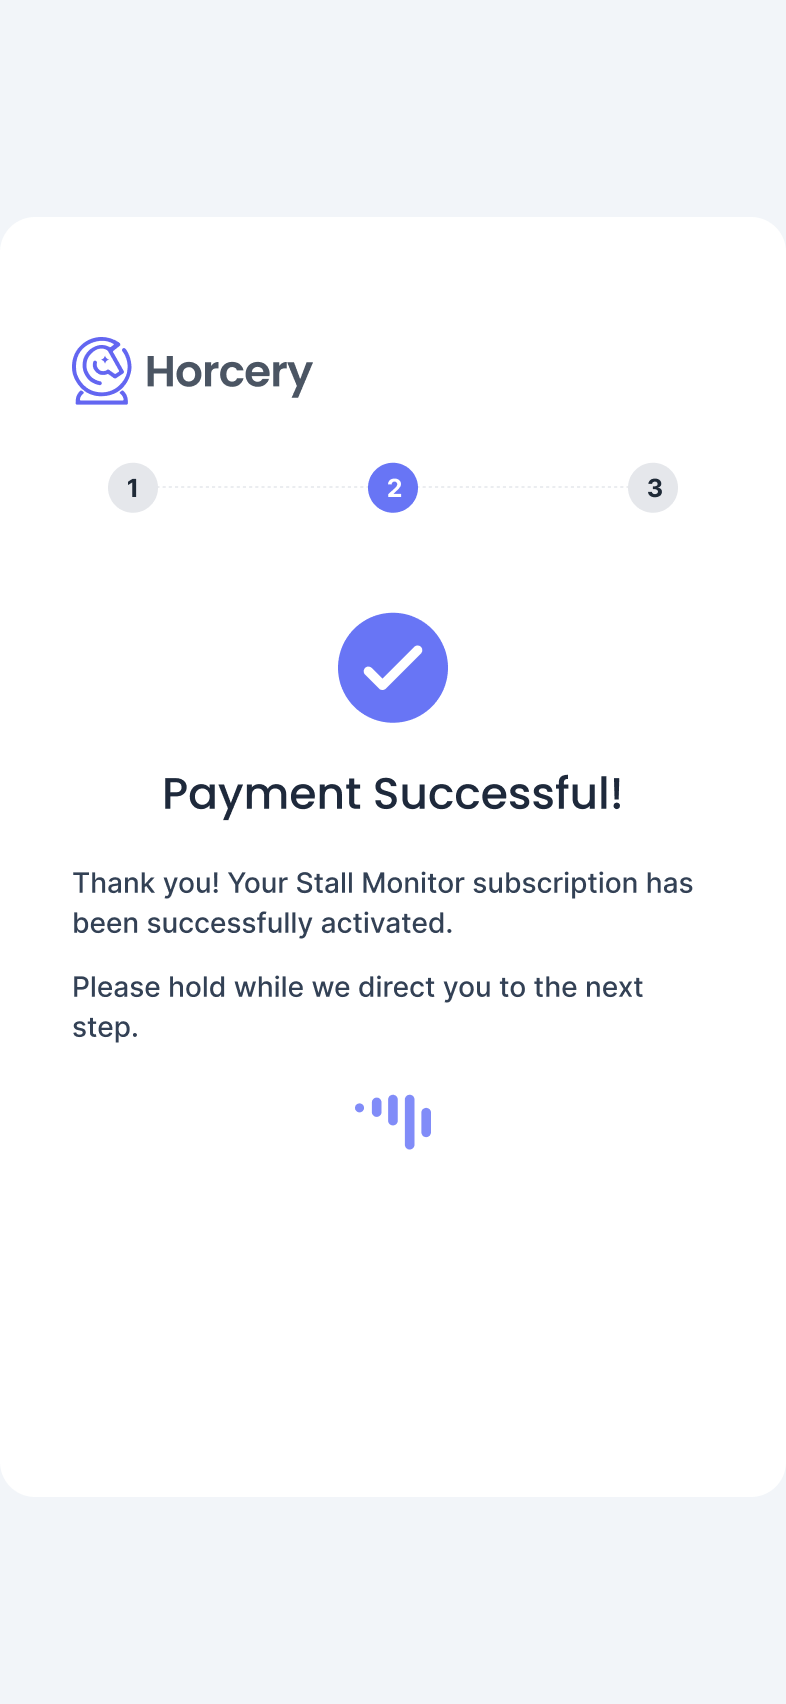
Step 5: Activate your stall monitor subscription
Next, proceed to pay the subscription for your device or, if you don’t have billing authorization, you can copy the payment link to share with someone who can complete the transaction for you.

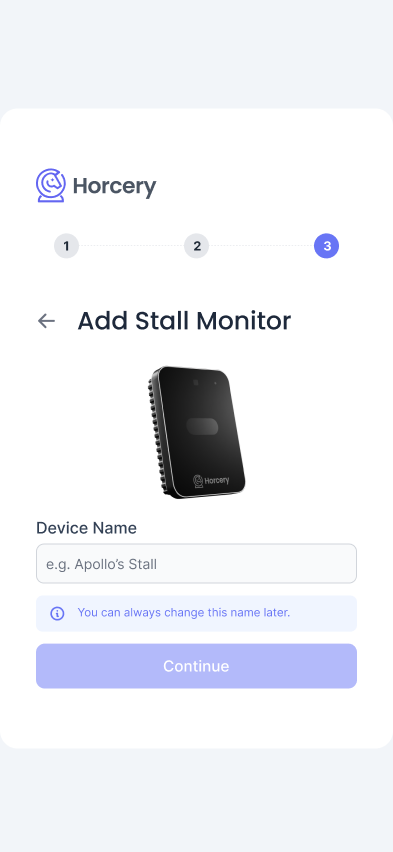
Step 6: Name your Stall Monitor
Next, name your device and hit Continue.
Tip: Write the same name on your Stall Monitor welcome card so that you can easily find the correct QR code for this device in future, if you need it.

Step 7: Device successfully added
Now that you have successfully added the Stall Monitor to your organization, you need to proceed to the Horcery mobile app. If you do not have it installed yet, hit Download Now.

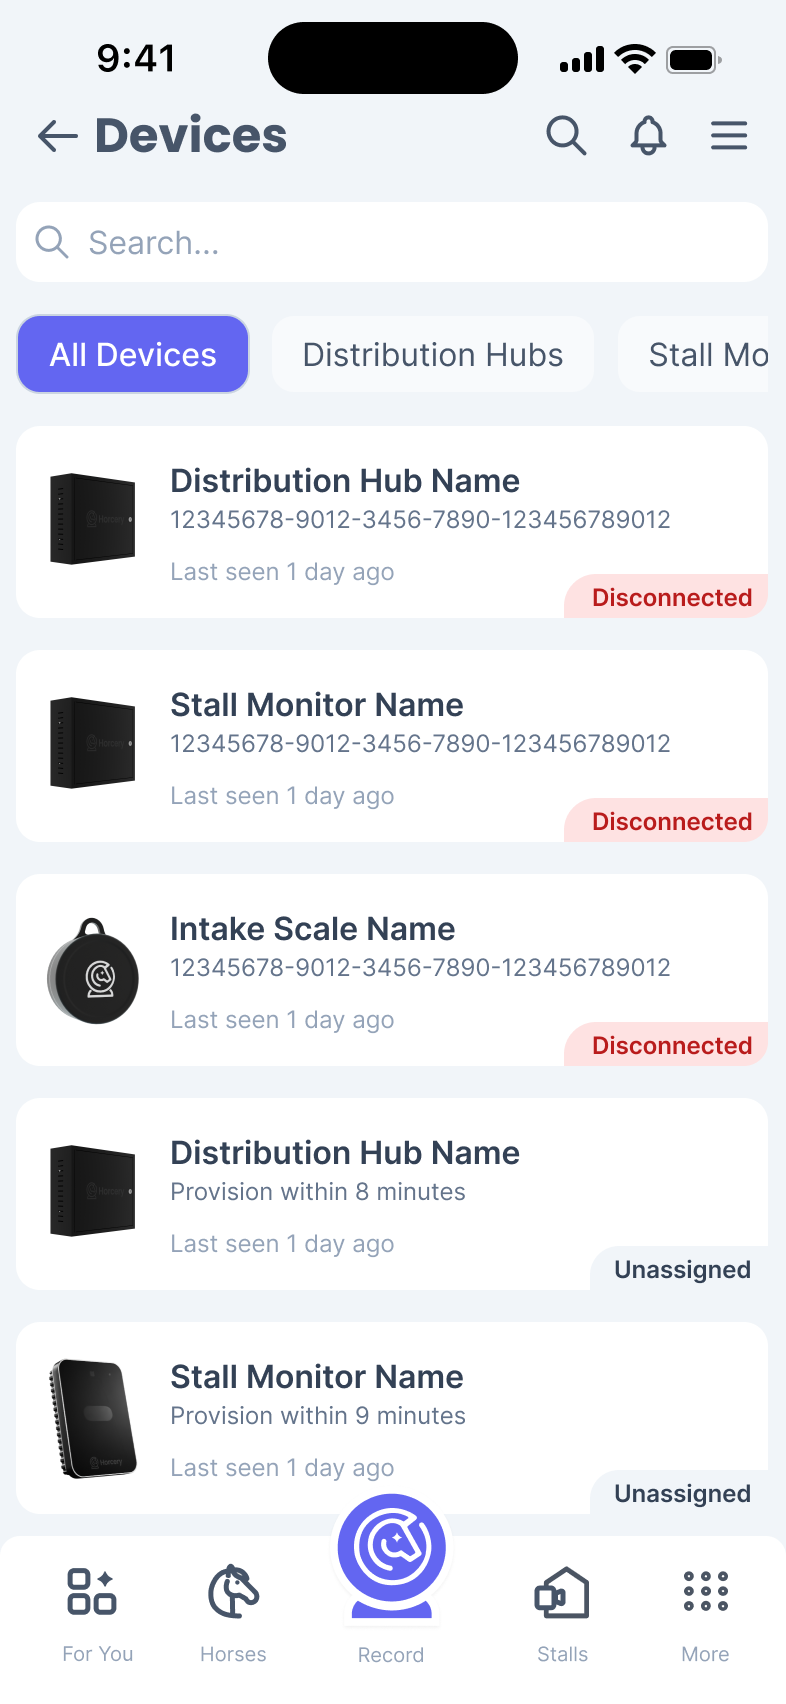
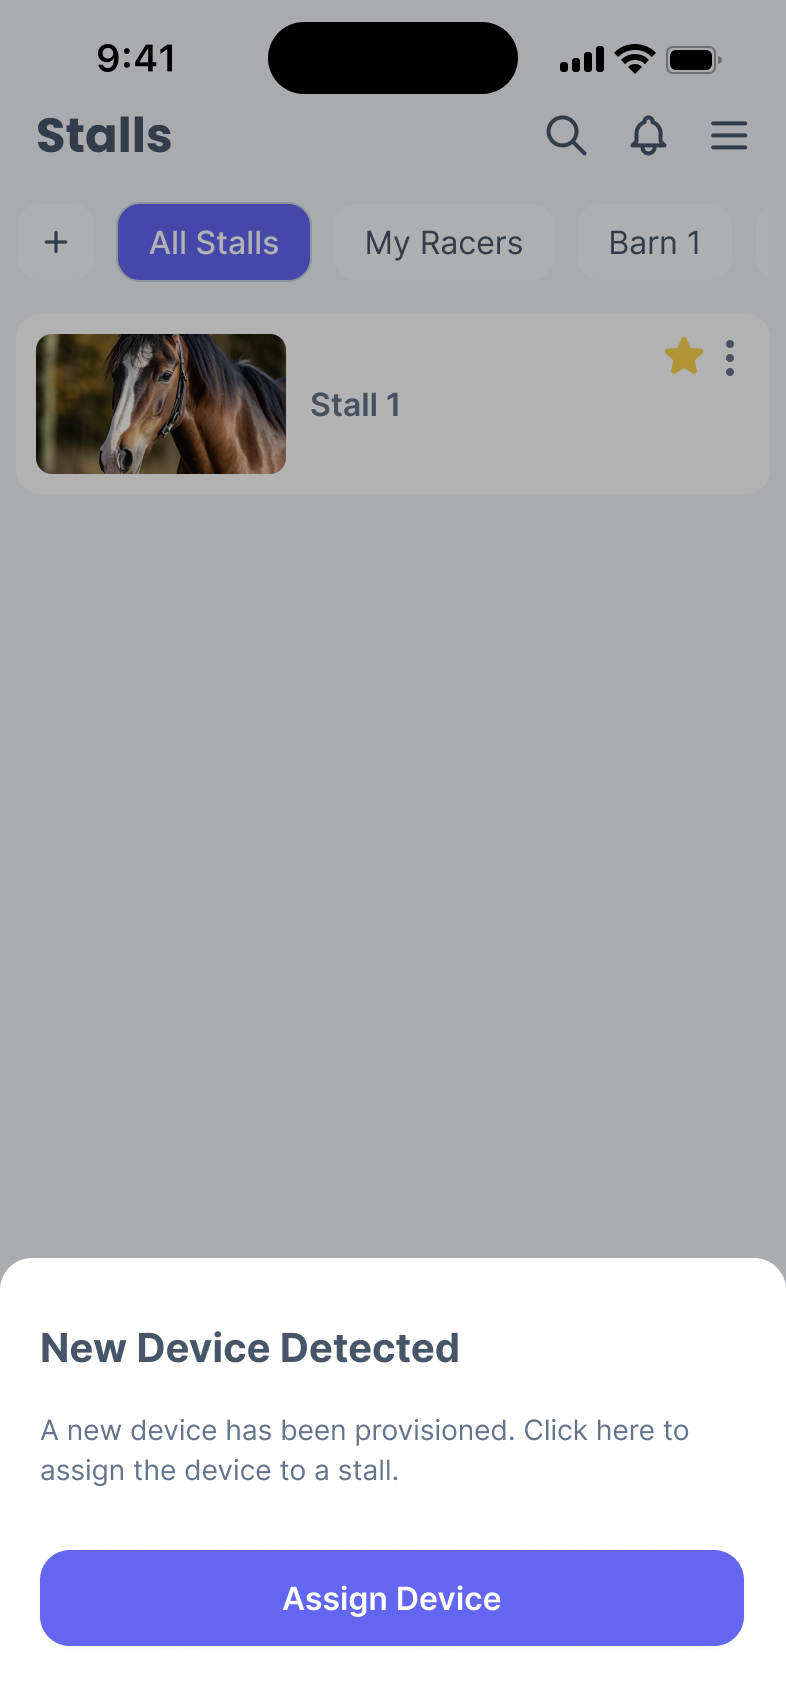
Step 8: Continue the provisioning flow on your mobile app
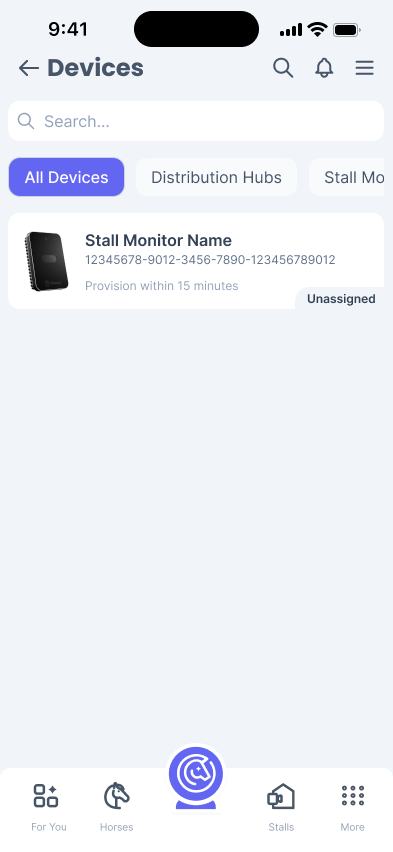
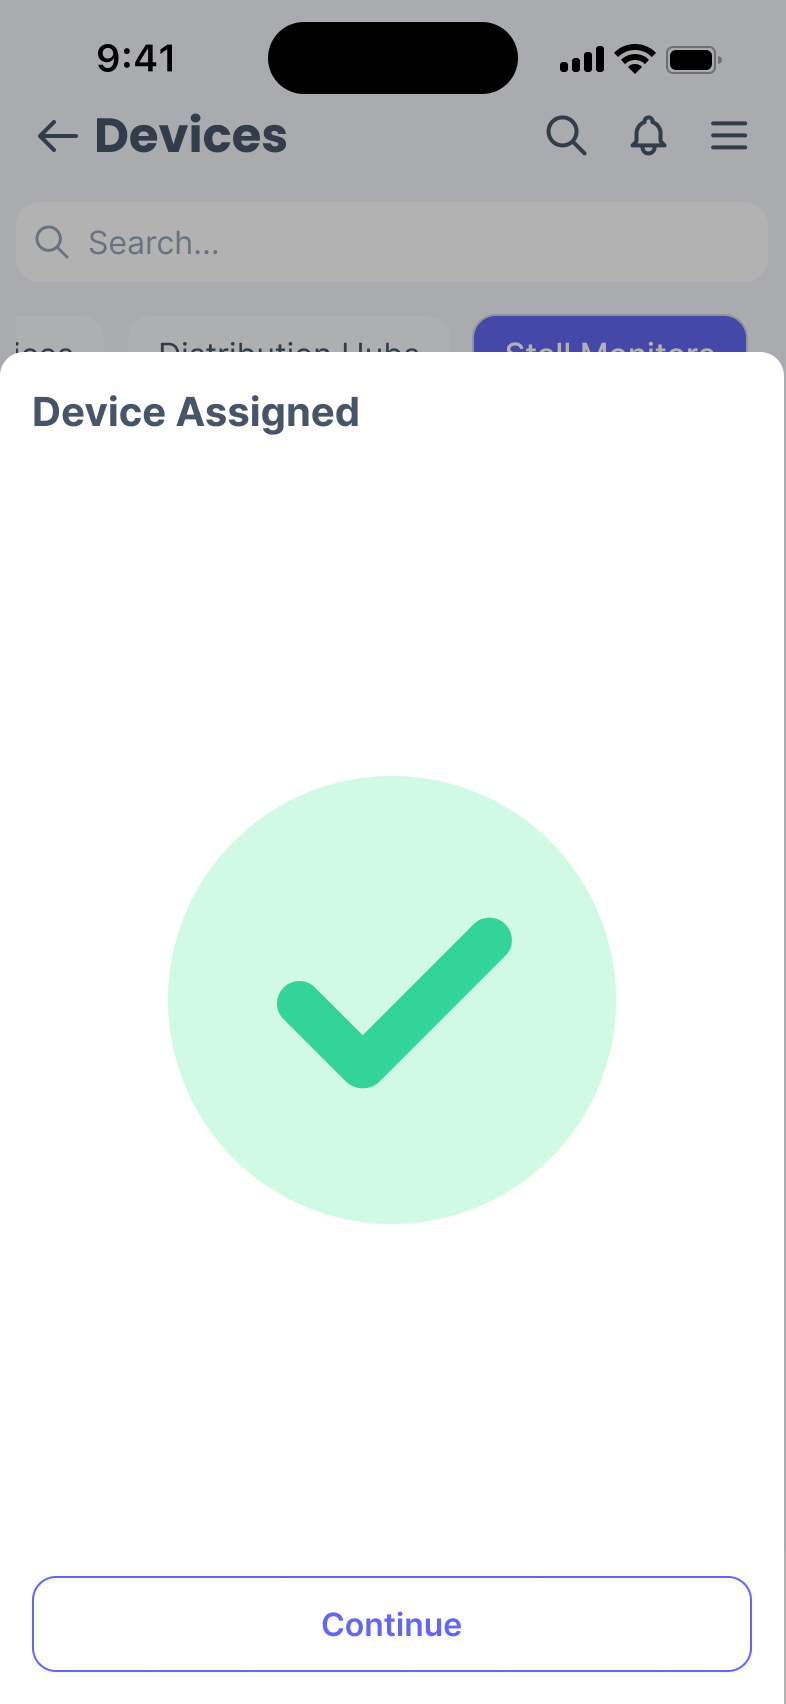
Press Assign Device on the New Device Detected pop-up to navigate to the Devices page. Tap the Stall Monitor that you want to assign so you can begin the provisioning flow.
You will only have 15 minutes to complete this process.

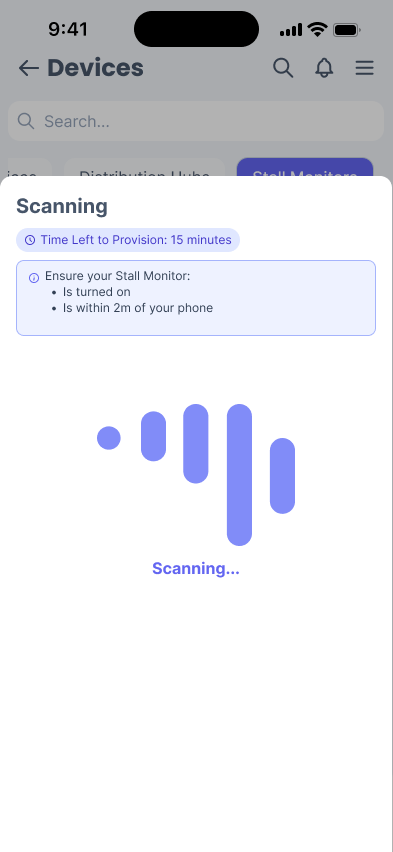
Step 9: Scan and pair device
After you select the unassigned Stall Monitor, the app will begin scanning for the device and pairing with it. Try to stay as close to the Stall Monitor as possible (within 6ft (2m)) to ensure this process is successful.
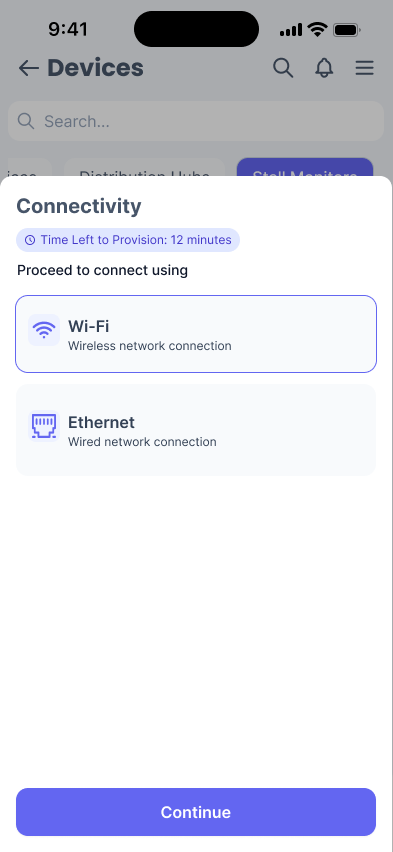
Step 10: Choose connectivity type
Select Wi-Fi as your method of connectivity and hit Continue.
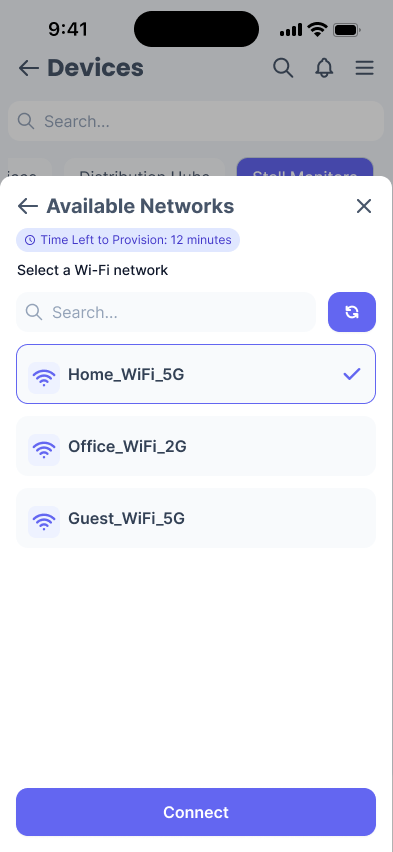
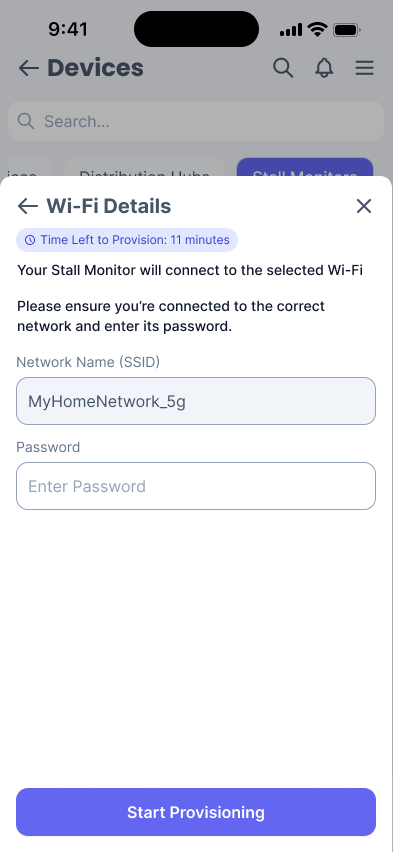
Step 11: Select a Wi-Fi network
Select a Wi-Fi network from the list of available networks and enter your credentials to log in. Then, press Start Provisioning. If you have any issues at this stage, you can contact our support hotline.
Note: Enterprise networks are not compatible with the Stall Monitor.
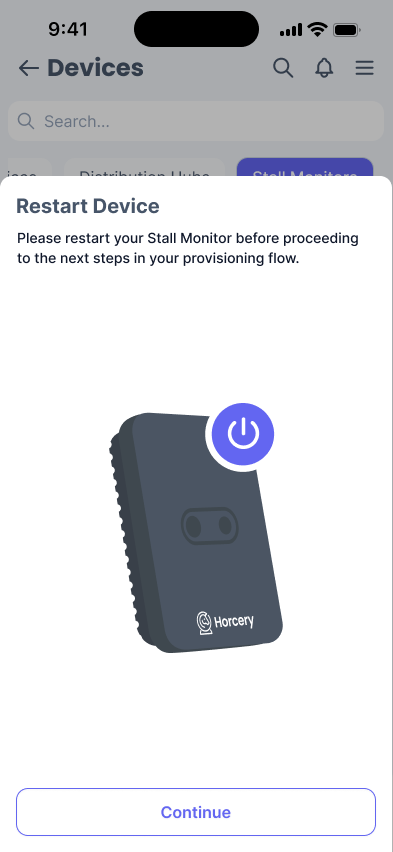
Step 12: Restart your device
Once you are connected, restart your device to finalize the process.
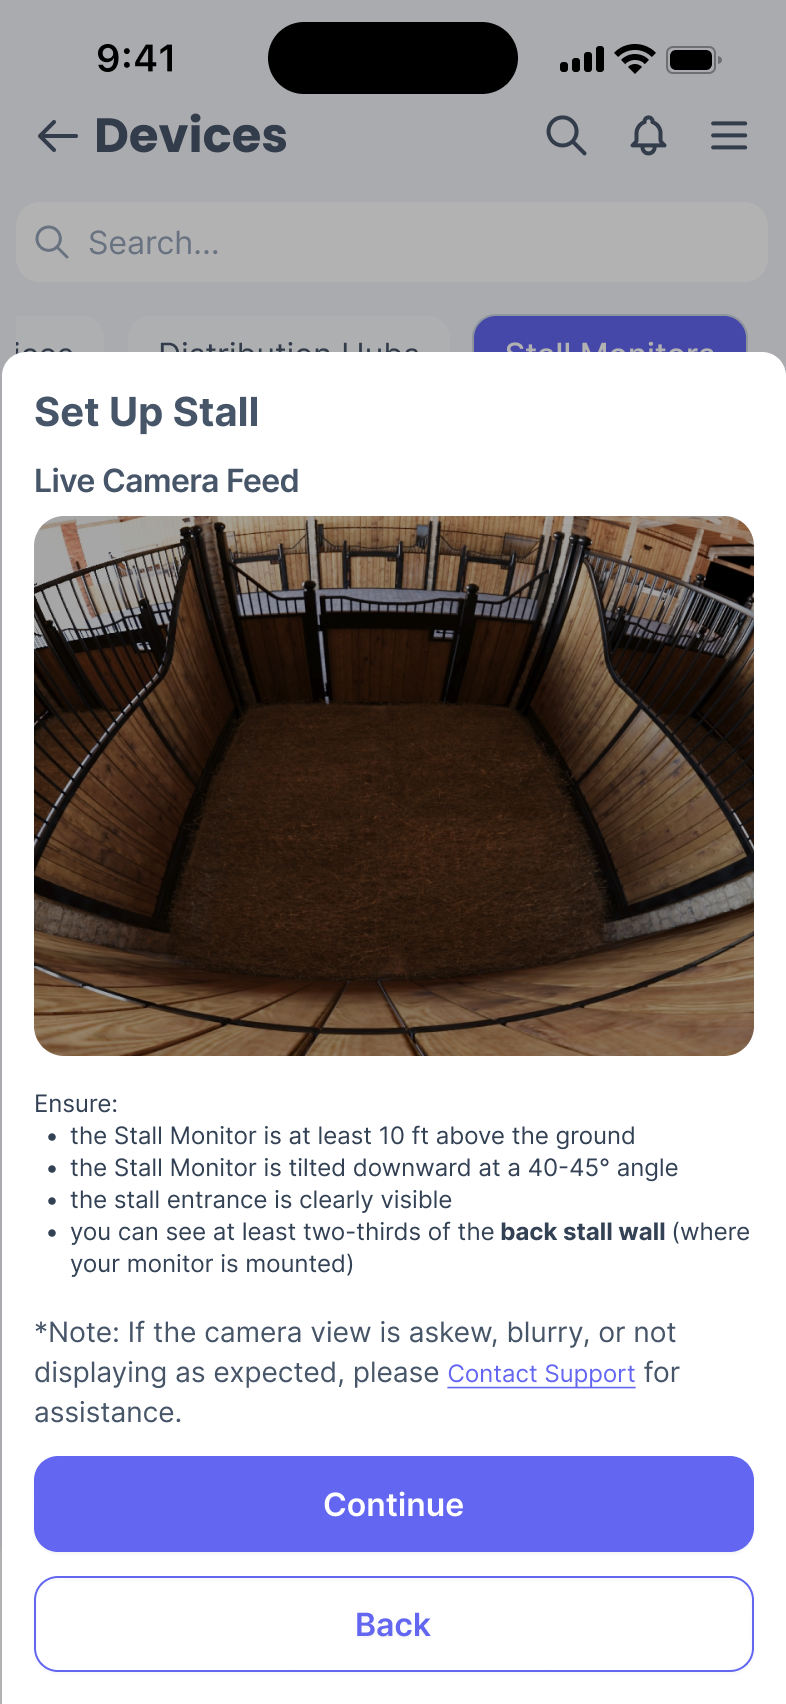
Step 13: Set up stall
Now that your device is provisioned, you can see your camera feed and follow the instructions on screen to ensure you have the best camera angle.
Tip: This is a crucial step in your setup process as an incorrect angle can impact data accuracy. If you’re uncertain about your current setup, feel free to contact our support hotline at (407) 890-7101.
Step 14: Finish setup
Once your Stall Monitor feed is set up, you’re good to go!
Need further assistance? Call our support hotline at (407) 890-7101 or email us at [email protected]


